Otowashcar is an Elementor template kit for car wash, car detailing and auto services. Otowashcar uses free elements, so don't worry about trying this one out. Otowashcar uses free elements, so don't worry about trying this one out. This is not a WordPress theme. Template Kits contain page content for the Elementor page builder. This kit is optimized for use with the free Hello Elementor theme, but can be used with most themes that support Elementor
.
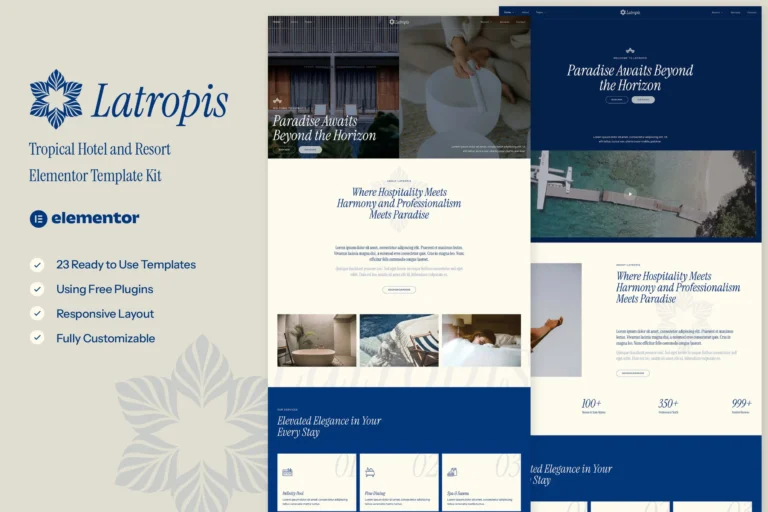
Features
- True codeless customization with visual drag-and-drop builder
- Customize fonts and colors in one place or adjust individual elements
- Modern and professional design
- Fast charging
- Works with most Elementor themes.
Plugin dependencies:
- Elementor
- ElementsKit Lite
- Metform
- Header and Footer Builder
Models
- Start
- About us
- Team
- Services
- Individual services
- Prices
- Frequently Asked Questions
- Blog
- 404
- Contact us
Source used
** How to use Template Kits: ** This is not a WordPress Theme. Template Kits contain only Elementor design data and are installed using the envato Elements WordPress plugin or directly through Elementor
.
- Download the file from your Envato kit and do not unzip it. If you use Safari, you may need to make sure "Open safe files after download" is disabled in your browser preferences. 2. Go to Settings > Permalinks and make sure the post name is selected.
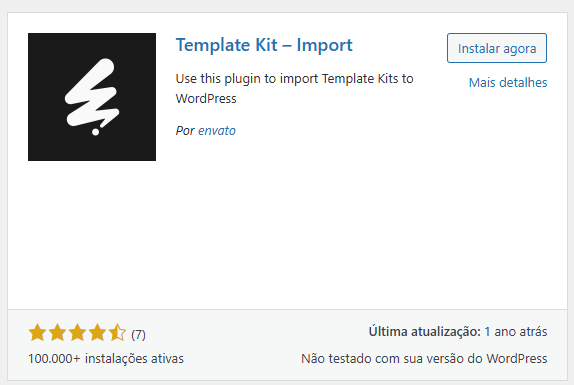
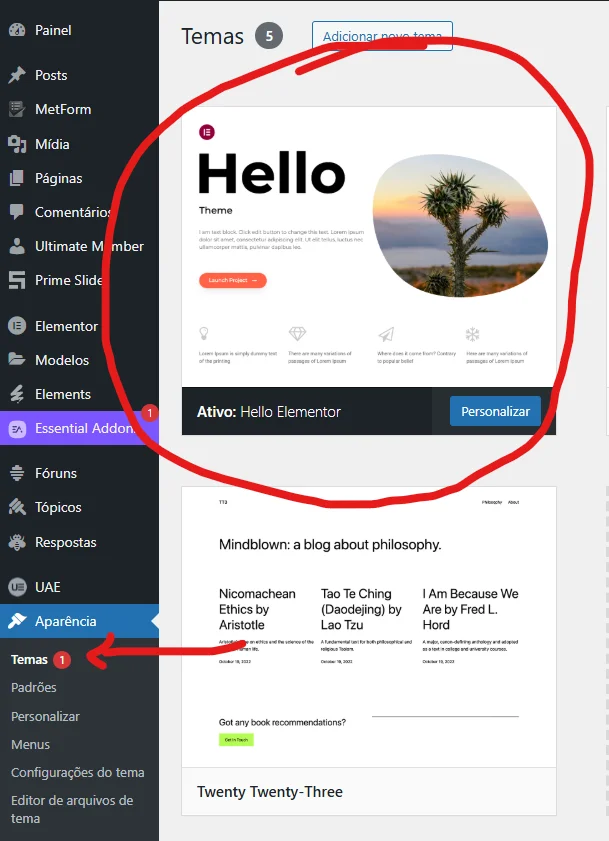
- Go to Appearance > Themes > Add New and make sure Hello Elementor is installed and activated. This will prompt you to install Elementor if you haven't already. 4. Go to Plugins and make sure Elementor and Envato Elements are installed and at the latest version. If your kit requires Elementor Pro, it should now be installed and connected to your account. 5. Go to Elements > Installed Kits and click Upload Template Kit Zip (or click the kit to preview it).
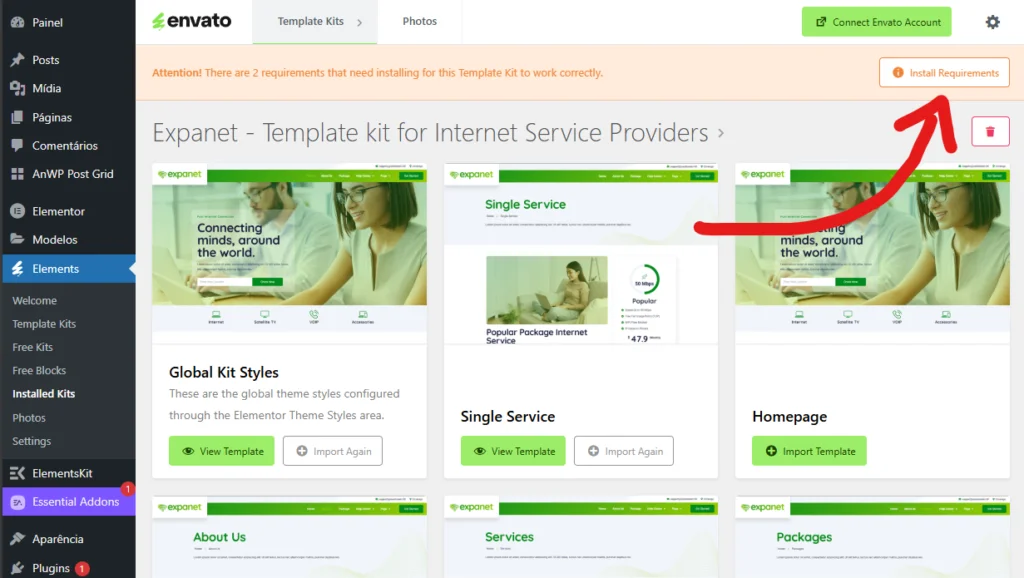
- Check the orange banner at the top and click on Installation Requirements to load the plugins used by the kit. https://envato.d.pr/ughD8Q
- First click import in Global Kit Styles. This will configure the site settings.
- Click Import on one template at a time in the order shown. They are stored in Elementor under Templates > Saved Templates and can be reused from there.
Page creation
- Go to Pages, create a new page and click Edit with Elementor
- Click the gear icon in the bottom left corner of the builder to view the page settings and choose Elementor Full Width and hide the page title
- Click the gray folder icon to access the My Templates tab and then Import the page you want to customize.
- The front page is set in Settings > Reading, selecting Static Front Page.
If you have Elementor Pro, headers and footers are customized in Templates > Theme Builder.
Detailed guide: https://help.market.envato.com/hc/en-us/articles/900000842846-How-to-use-the-Envato-Elements-WordPress-Plugin-v2-0
For more support, go to Elementor > Get Help in the WordPress menu.
How to import metaforms If you have Elementor Pro, skip installing Metform and form blocks
.
- Import the meta-block models
- Import the page template where the form appears and right-click to activate the Navigator
- Locate and select the Metform widget and click Edit Form. Choose New and then Edit Form. The builder will appear
- Click on the gray folder icon “Add Template”.
- Click on the “My Templates” tab.
- Choose your imported metform template and click 'Insert' (click No to see page settings).
- Once the template is uploaded, make any desired customizations and click “Update and Close.” The form will appear in the template.
- Click Update
Configure global header and footer in Header Footer & Blocks plugin If you have Elementor Pro, headers and footers can be customized
in the Theme Builder.
- Import the header and footer template
- Go to Appearance > Header > Footer and click the Add New button.
- Give it a title and select Header, Display across the entire site and click Publish
- Click Edit with Elementor
- Click the gray folder icon to access the My Templates tab and select the header template to import and update.
- Repeat for the footer