Optimistix is a stylish and versatile Elementor Template Kit designed for modern marketers. Perfect for agencies, freelancers, and businesses, Optimistix offers a variety of customizable pages and stunning design elements that make it easy to showcase your services, portfolio, and client success stories. With a user-friendly interface and seamless integration with popular plugins, this kit ensures a hassle-free setup and a professional online presence. Increase your brand visibility and engage your audience effectively with Optimistix. #####
Feature- Individual elements can be adjusted or fonts and colors can be changed in one place.
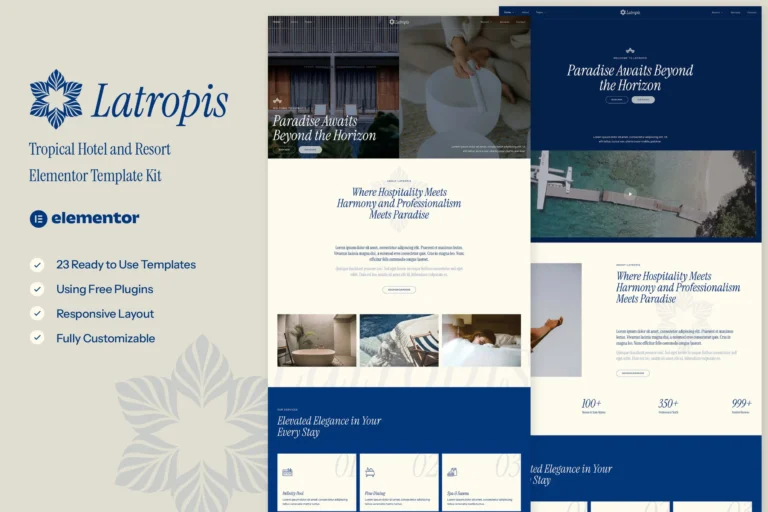
- Visual drag-and-drop builder for true no-code customization.
- Contemporary and professional design.
- Fast charging.
- Most Elementor themes are compatible with this template kit.
####
Models include:- Home page
- On
- Services
- Blog
- Contact
- Project
- Service detail
- Frequently Asked Questions
- Team
- Testimonials
- Shortly
- 404
####
Sections and blocks:- header
- Baseboard
- Contact form
- Question form
- Audit form
- Newsletter form
####
Required plugins pre-installed with the kit- Elementor
- Elementor Jeg Kit
- Happy Elementor Addons
- Metform
####
Template Kits: How to Use the Theme- Install and activate the “Envato Elements” plugin in WordPress by going to Plugins > Add New.
- Do not unzip the kit file after downloading it.
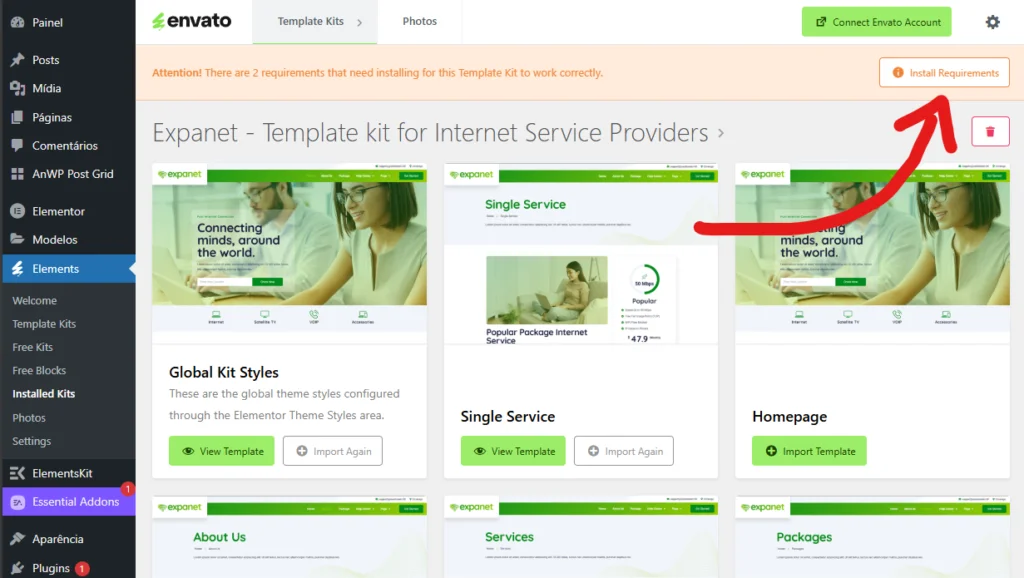
- Click the Upload Template Kit button under Elements > Installed Kits. You can also import automatically by linking your Elements membership to your Connect Account and importing under Elements > Template Kits. 4. Check for an orange banner at the top of the page, then click Install Requirements to upload the required plugins for the kit.
- First, import the global styles from the kit.
- One template at a time, click Import. These can be found in the Templates > Saved Templates section of Elementor.7. Create a new page in Pages and click Edit with Elementor.
- To view the page options, click the gear icon in the bottom left corner of the builder and select Elementor Full Width and Hide Page Title.
- To access the My Templates tab, click the gray folder icon, then import the page you want to change.
The Theme Builder allows you to change the headers and footers if you have Elementor Pro. Visit for more detailed guidance: https://help.market.envato.com/hc/en-us/articles/900000842846-How-to-use-the-Envato-Elements-WordPress-Plugin-v2-0 For more help, go to the WordPress menu and select Elementor > Get Help. #####
Importing Metaforms: What You Need to Know- Metform block templates must be imported.
- Import the page template with the form and activate the Navigator by right-clicking.
- Click Edit Form after you locate and select the Metform widget. Then select New and Edit Form from the drop-down menu. The Object(){[native code]} function will appear.
- Select the gray folder icon that says “Add Template.”
- Select the “My Templates” option from the drop-down menu.
- Then click 'Insert' after selecting your imported metform template (click No to see page settings).
- Once you have finished customizing the template, click “Update and Close.” The form will appear in the template.
- Update the information by clicking the button.
####
In Elementskit, set up global header and footer- Import the template for the header and footer.
- Navigate to ElementsKit > Header Footer and select Add New (if prompted by a wizard, you can click Next without taking any action).
- Toggle Activation to On, give the header a title, and leave the entire site selected.
- To open the builder, click the gray Edit Content button.
- Select the header template to import by clicking the gray folder icon, then select its menu in the navigation element and click Update.
- Repeat the procedure for the footer.