THE Drivexy is a fully responsive Elementor Template Kit designed for car rental companies, transportation services, and private drivers. With a clean, modern, and professional design, it makes it easy to create an impactful and functional website without the need for coding.
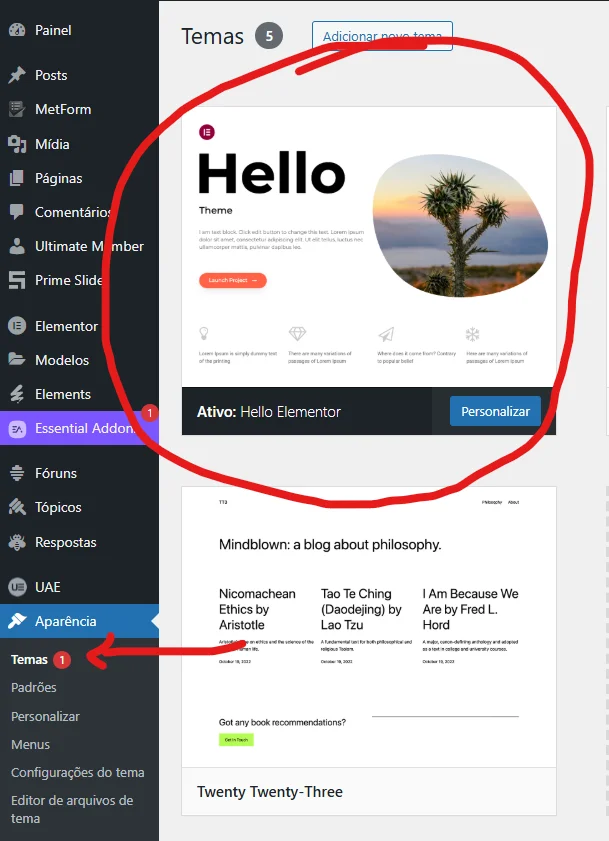
Perfectly optimized for the free theme Hello Elementor, Drivexy offers fast loading, intuitive navigation and pages designed to improve the user experience and boost your business results. You can showcase your fleet, highlight your services and streamline the booking process efficiently.
Suitable for:
- Car rental companies
- Executive transportation services
- Private Driver Companies
Key Features:
- Modern and responsive design
- Seamless integration with Elementor and Hello Elementor theme
- Fast Charging Experience
- Conversion-optimized layouts
- Easy customization with no programming required
Templates included:
- Home Page
- About Us
- Car List
- Car Details
- Our Driver
- Frequently Asked Questions (FAQ)
- Testimonials
- Blog
- Page 404
- Contact
Sources used:
How to use the Template Kit:
Important: This kit is not a full WordPress theme, but rather a set of Elementor layouts.
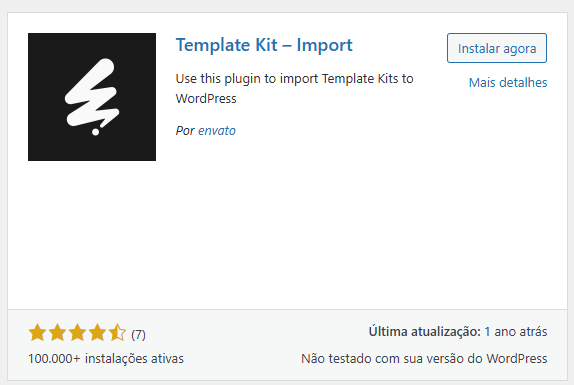
- Install and activate the plugin Envato Elements on WordPress (in Plugins > Add New).
- Do not unzip the kit file after downloading.
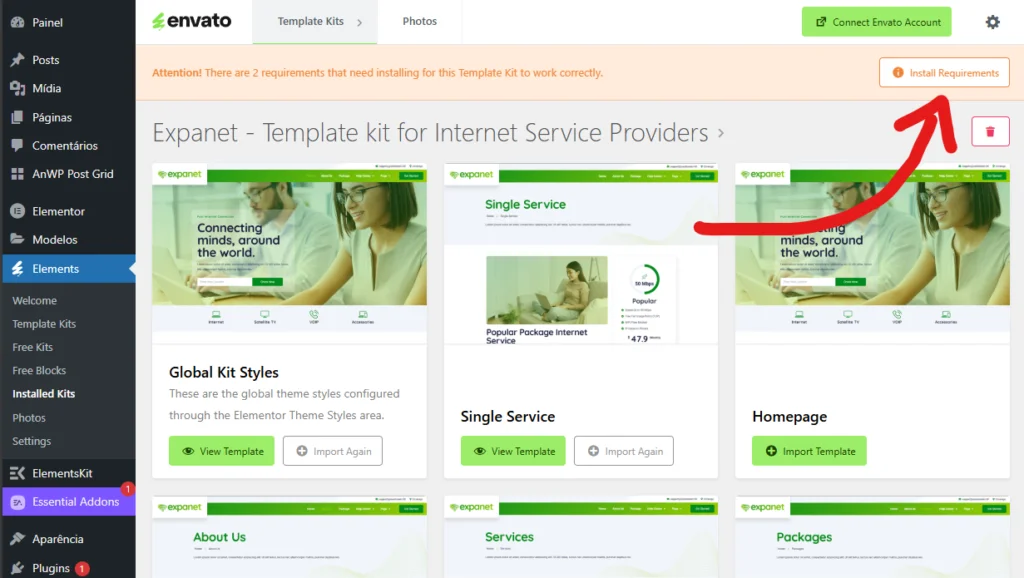
- Access Elements > Installed Kits and click on Upload Template Kit.
- Import the global styles and then the pages individually via My Models from Elementor.
- When creating your pages, set the layout to Elementor Full Width so that the header and footer appear correctly.
Complete installation guide:
How to install Elementor Template Kits from Themeforest
For additional support, visit WordPress: Elementor > Get Help.
Plugins included with the Kit:
- Elementor
- ElementsKit Lite
- Jeg Elementor Kit
- MetForm
- Qi Addons for Elementor
- Ultimate Addons for Elementor
Header Setup with Jeg Elementor Kit:
- Access Jeg Elementor Kit > Header Template in the WordPress dashboard.
- Click on Add New Header.
- Set the condition for The entire site and click on To create.
- Click on the pencil icon to Edit.
- Use the gray folder icon to access My Models and insert the desired header template.
- Customize and save changes.
If you use Elementor Pro, you can configure headers and footers directly through Theme Builder.
Setting up Custom Forms with MetForm:
- Edit the desired page in Elementor.
- Add the widget MetForm.
- Click on Edit Form > New and then in Edit Form.
- Click on the gray folder button Add Template.
- Import the desired model from the tab My Models.
- After loading the form, click To update.
Images:
Drivexy uses demo images from Envato Elements. To use them commercially, you must purchase the license. You can also replace them with your own images.
Collection of images used:
Envato Elements – Drivexy Collection